Install Linux
Downloading Ubuntu
Download Ubuntu from the Ubuntu Website. This will be used for our Virtual Machine, so we will just need the Ubuntu 20.04.3 LTS.
Warning
Ubuntu is roughly a ~2.7GB download. On slow internet, this download can take upwards of an hour
For our development work, we use Ubuntu. In the past, Ubuntu was required to run ROS 1, but with the change to ROS 2, Windows is one of the supported platforms. In the future, we might investigate using Windows as a development platform, but in general Linux is better and easier for development work.
Installing VirtualBox
First, install VirtualBox. This can be done through the VirtualBox Website. For a Windows laptop, you’ll need to download the Windows hosts option. For OS X or Linux, select your respective options and continue with the install.
We recommend using VirtualBox as it is free and available on all platforms. Feel free to use VMWare/Hyper-V/Similar, although you will be on your own to figure out guest OS integrations and USB forwarding. If you have a spare laptop/desktop, we might suggest doing a full install of Ubuntu alongside your existing OS. Running an OS on bare hardware will always be faster and reliable than a virtualized install. Instructions are not provided for this kind of setup either, although it is easy enough to find tutorials on the web.
Once VirtualBox is downloaded, install it using the default options.
Setting Up a Virtual Machine
In VirtualBox, click Machine > New to create a new virtual machine.
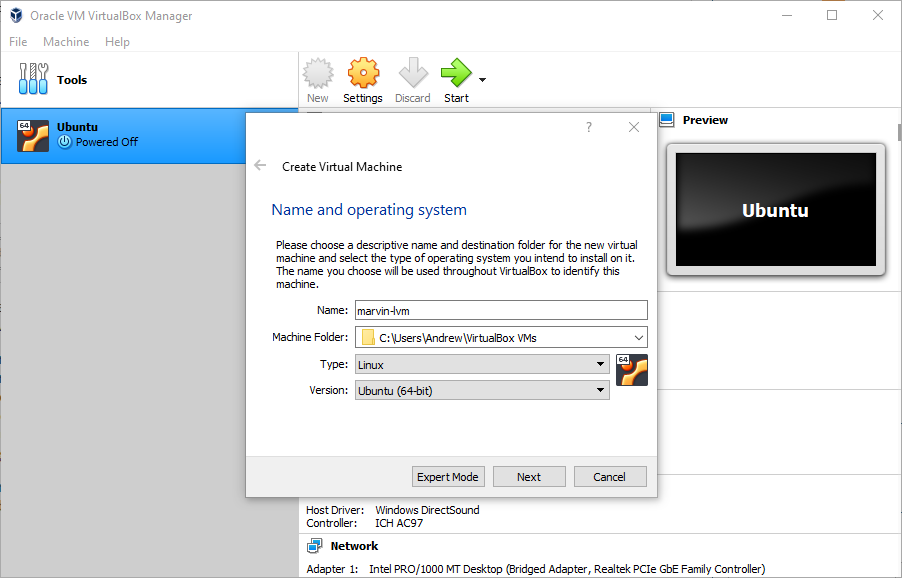
It is recommended that you name your virtual machine with your MSOE username, eg rr-kempena-lvm. lvm stands for Linux Virtual Machine.
Be sure to select the virtual machine type as Linux and the version as Ubuntu (64-bit).
On the next page, select the amount of RAM for the virtual machine to use.
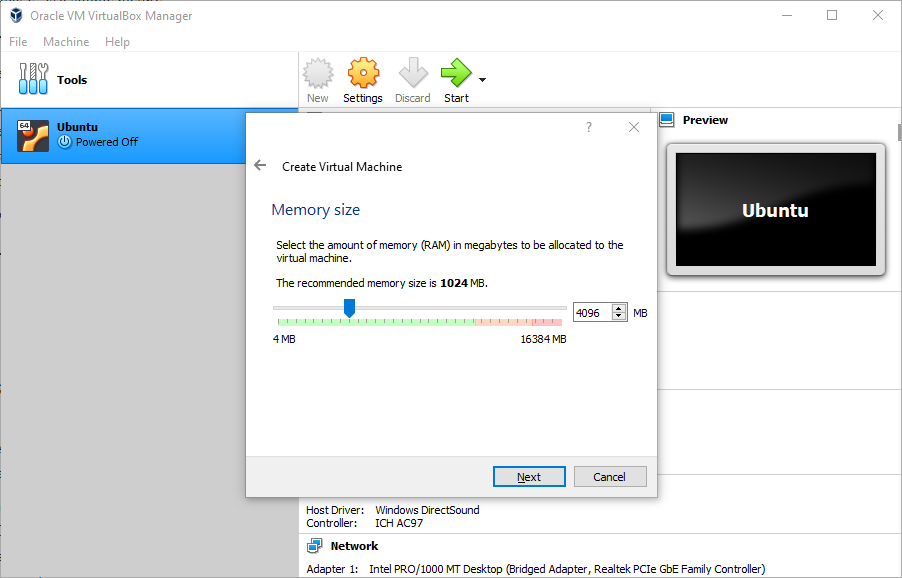
We recommend allocating at least 4GB (4096MB) of RAM. More RAM is nice, although increased amount of RAM is diminishing in returns for our applications as RAM needs to be shared between our host Windows system and the VM.
On the next page, select Create a virtual hard disk now

On the next page, select VDI (VirtualBox Disk Image)

Select Dynamically allocated for the storage type
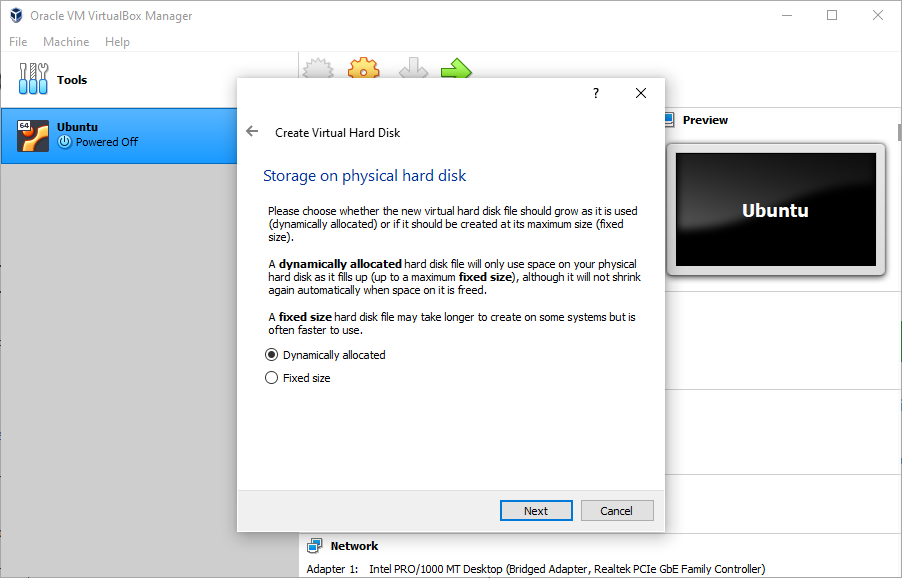
Drag the slider bar to 50 GB. This 50 GB is the maximum space we will allow the virtual disk to expand to. Even the biggest Ubuntu installs are usually limited to 25 GB and our install likely will not exceed 10 GB.

Click create to create the virtual machine.
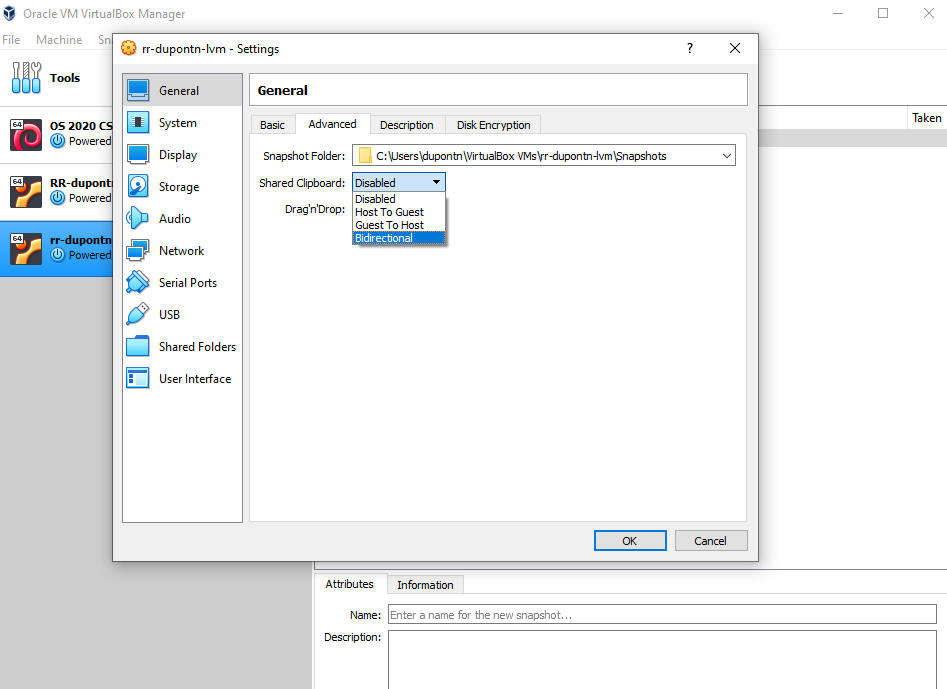
Once the virtual machine has been created, we need to tweak some of the settings. To do this, right click on the newly created virtual machine and click Settings.
Click on the General menu, and open the Advanced tab. Within here, click the dropdown next to Shared Clipboard and select Bidirectional.
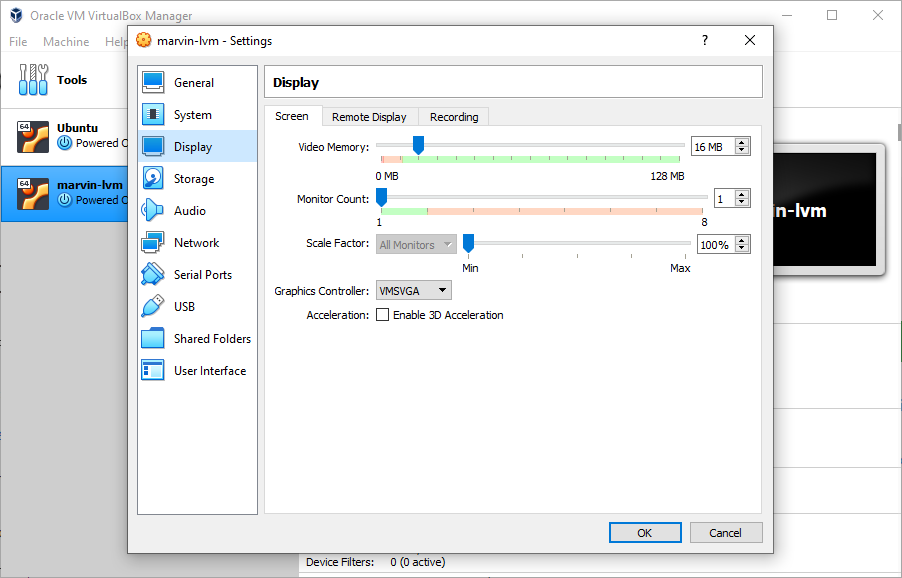
Next, click on the Display tab and check Enable 3D Acceleration
Switch to the Storage tab and click on Empty under the Controller: IDE entry. Then, click on the CD drop down.
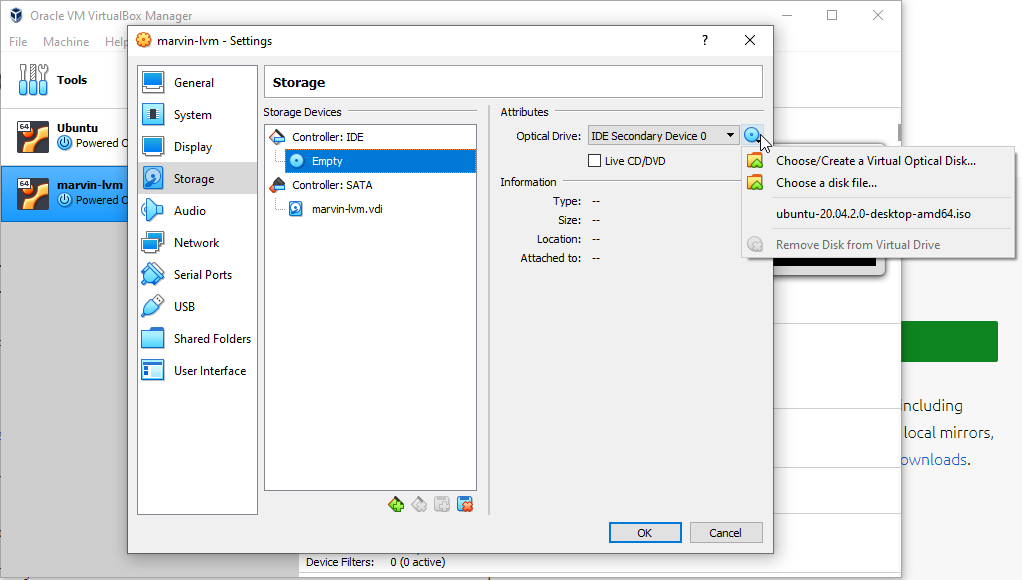
Click Choose a Disk File, then navigate to the directory where the Ubuntu 20.04 iso was downloaded to. Select this file and click Open.
Click OK to save the settings.
Installing Ubuntu
Start the virtual machine by right clicking the machine entry, clicking Start then Normal Start.
If asked which disk to use as the startup disk, select the Ubuntu iso file from before.
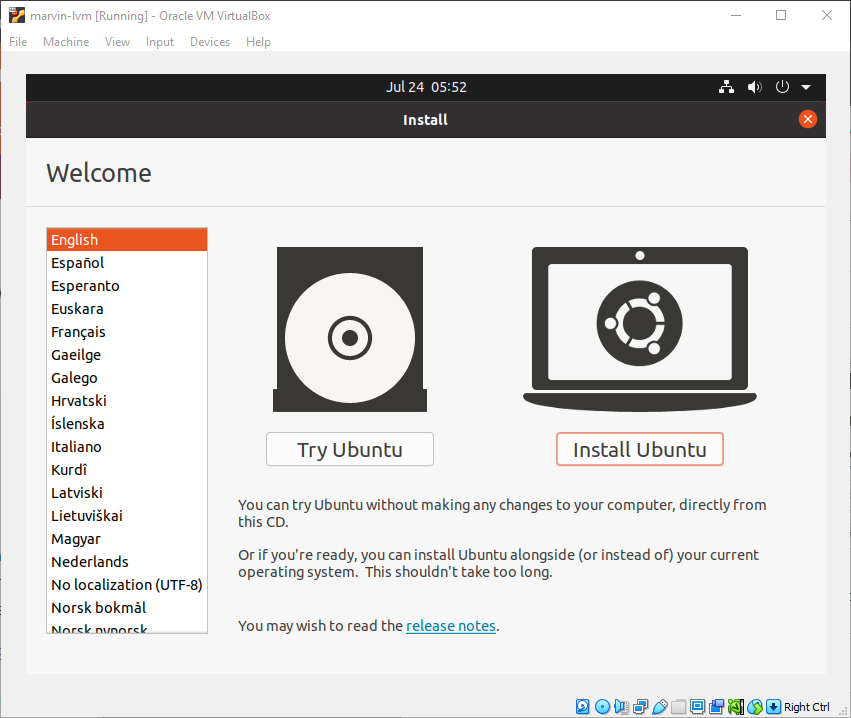
After a few minutes (can be up to 5 minutes on a slow computer - black screens are normal), you should be greeted with the Ubuntu desktop and a prompt to install Ubuntu.
Select Install Ubuntu
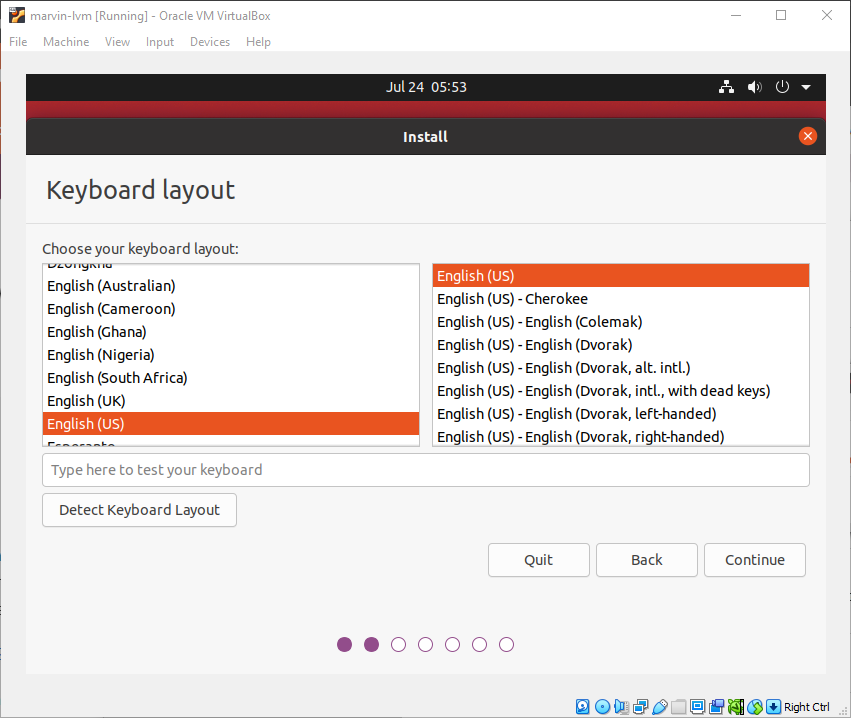
For keyboard layout, you probably want English (US). Click Continue.
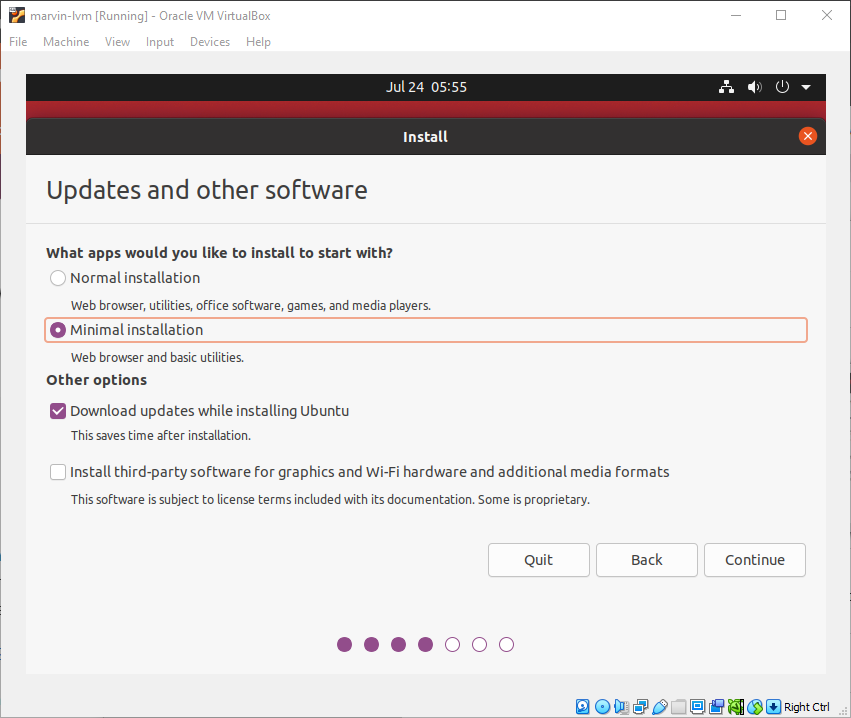
For the install type, select Minimal installation and click Continue.
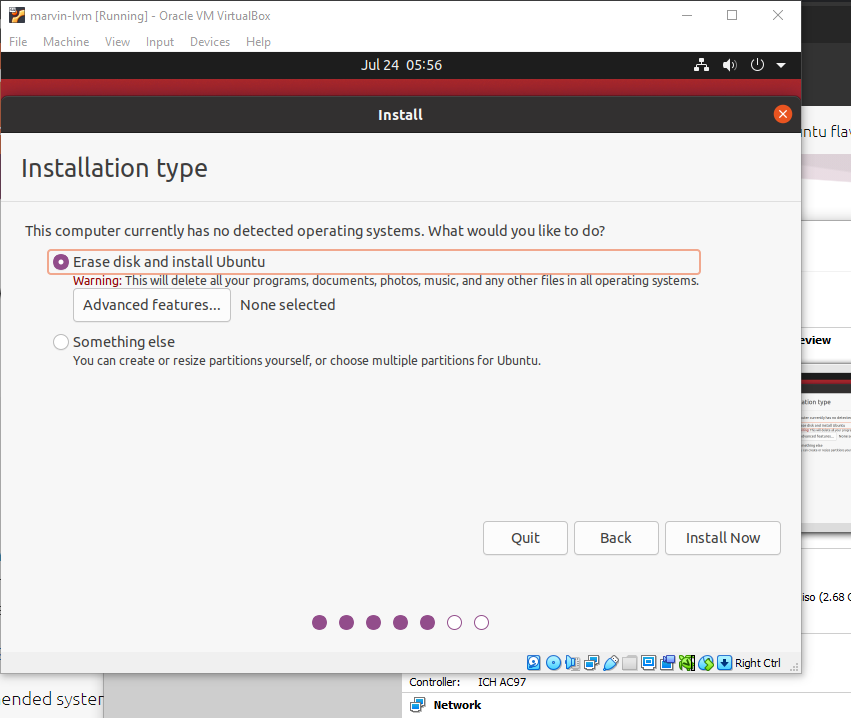
Select Erase disk and install Ubuntu, then click Install Now.
Click Continue if asked if you want to apply the changes to the disk. On the location page, select your approximate location (probably Chicago).
On the Where are you? page, select your timezone.
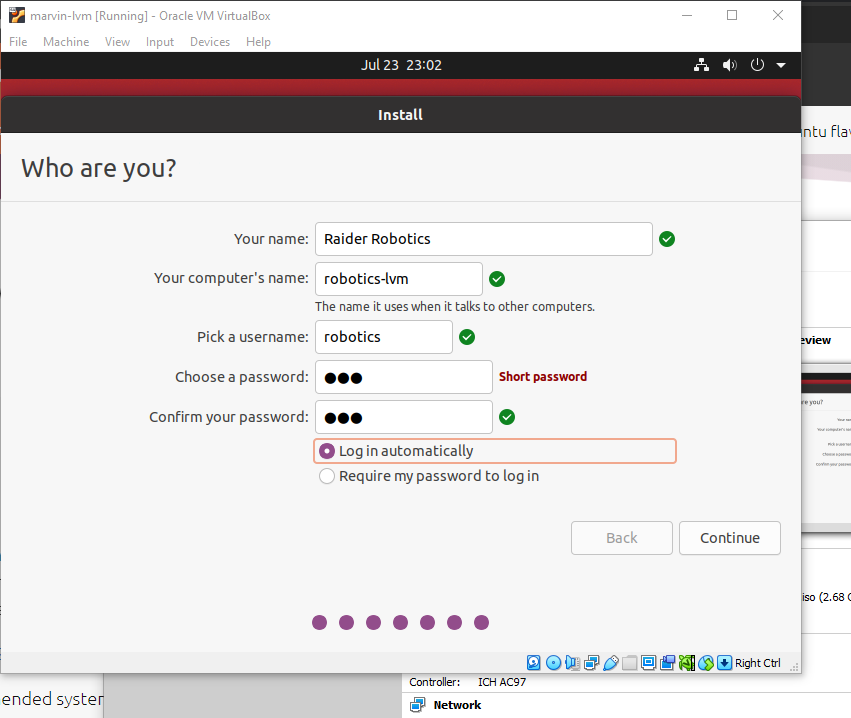
On the Who are you? page, enter your name. For your computer name, use the same name as you used for the virtual machine name. Use your MSOE username as your username. Choose a password (doesn’t have to be secure, just don’t forget it!) and select Log in automatically to skip the login page. Finally, click Continue.
Wait for Ubuntu to install. This can take upwards of 15 minutes depending on how fast your computer and internet connection is.
Once the install process is complete, click Restart Now to restart the VM.
It will ask you to remove the installation media and click Enter. VirtualBox should have already helpfully removed the virtual Ubuntu install disk so we can just press Enter to restart the machine.
After a few minutes (be patient, the first startup can take 3+ minutes), you should be greeted with the Ubuntu desktop.
Installing Guest Additions
Without Guest additions installed on Ubuntu, there are a lot of things that aren’t quite right. For one, the screen size is tiny, and for another we can’t copy paste between the virtual machine and the host.
First, open up the Terminal in Ubuntu. This can be done by clicking the 9 squares in the lower left corner and clicking/searching for Terminal.
Terminal will likely be used frequently when in the Linux terminal. To make it easier to get to, you can right click on the terminal icon and select Add To Favorites to pin it to the shortcuts bar.

In the terminal, type this command:
sudo apt install gcc make perl
If asked for a Y to continue, type Y and press Enter.
This command will install some of the essential build tools needed to compile Guest Additions.
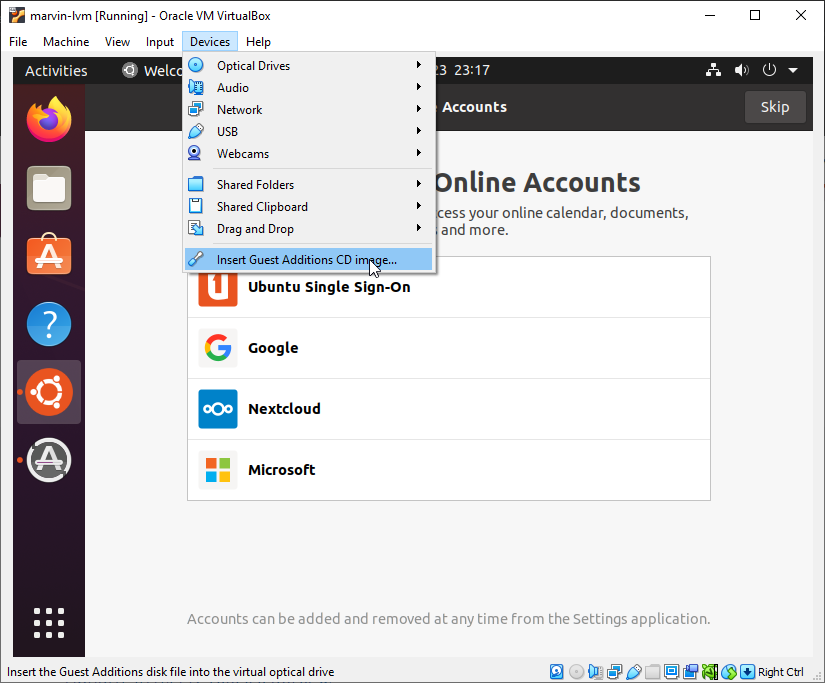
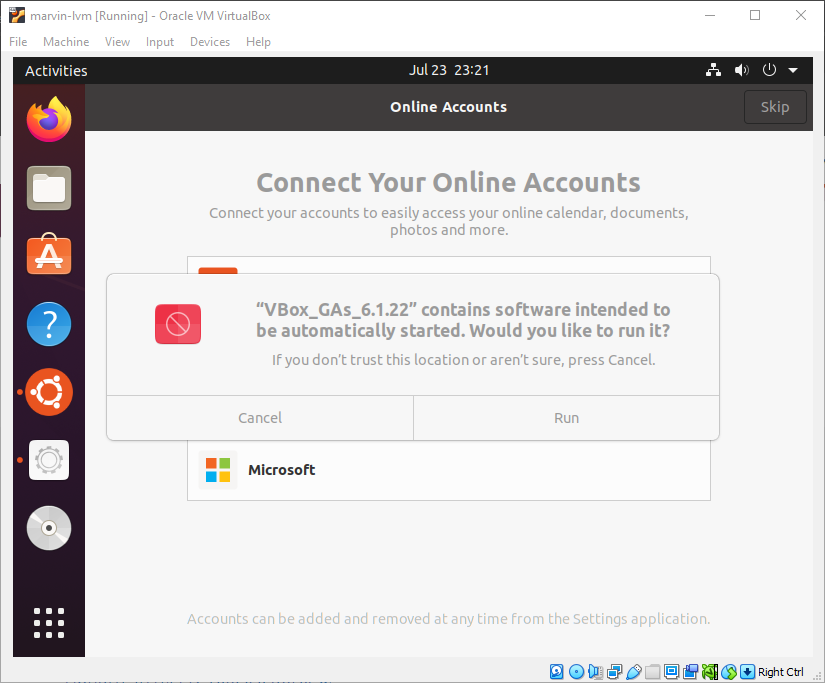
To install Guest Additions, in the VirtualBox window, click Devices and then Insert Guest Additions CD image.
After a few seconds, a prompt should appear asking if you would like to automatically run software on the CD. Click Run.
Enter your password, and click Authenticate.
The installer should automatically run and install the Virtual Box Guest Additions. When the install process finishes, press Enter. Then, restart Ubuntu. This can be done by clicking the power button in the top right corner and clicking Power off then Restart.
Once Ubuntu restarts, copy paste should work and you should be able to resize the window to whatever size you would like! (If it doesn’t, you may have to go under View and unselect and reselect Auto-resize Guest display)
Once you’ve confirmed that the window resizes automatically, shut down the instance (either using the ‘Machine’ tab > ‘ACPI Shutdown’, or going to the top right and pressing ‘Power Off / Log Out’ > ‘Power Off…’ > ‘Power Off’)